Your application should be focused on serving productive traffic to your users. Unfortunately not all the traffic you get has good intentions. Sometimes you need to block and throttle malicious requests to your Rails app.
In today’s post you will learn how you can easily protect your Ruby on Rails application from the bad guys.
Rack::Attack
Rack::Attack, which sounds almost like a reggaeton hit 😉, is a gem that installs a Rack middleware layer in your application to let you decide when to allow, block and throttle traffic based on request’s properties.
How does Rack::Attack work?
To understand how Rack::Attack works, let’s first remember how Rack middleware works.
Rack middleware wraps your application’s HTTP requests in a way that lets you do stuff with the request first and then do stuff with the response. A Rack middleware app would typically look like this.
|
1 2 3 4 5 6 7 8 9 10 11 |
class MiddlewareExample def initialize(app) @app = app end def call(env) # Do something with the request @app.call(env) # Do something with the response end end |
In the case of Rack::Attack, a simplified version of its middleware would look similar to this:
|
1 2 3 4 5 6 7 8 9 10 11 12 13 |
class Rack::Attacklike def initialize(app) @app = app end def call(env) if should_allow?(env) @app.call(env) else access_denied end end end |
Which basically means, before letting the request through, check if it should be allowed based on some rules. If the request passes the rules filter, it goes through, if not, return access denied.
Do not worry about these rules now, I will show you later how to define them. Now, let’s focus on installing Rack::Attack.
Install Rack::Attack in a Ruby on Rails application
Now that you know the basics on how Rack::Attack works, it is time to put it in practice and protect your Rails app!
The first thing you need to do is to add the Rack::Attack gem to your application’s Gemfile and run bundle install.
|
1 2 |
# In your app's Gemfile gem "rack-attack" |
Now, on a terminal, run bundle install to install the required dependencies.
|
1 |
bundle install |
Configure which requests allow, block and throttle
Once Rack::Attack has been installed in your Rails application it is time to configure which request will be allowed, blocked and throttled. In a Rails application, this configuration goes in an initializer.
Under config/initializers, create a new file and name it rack_attack.rb
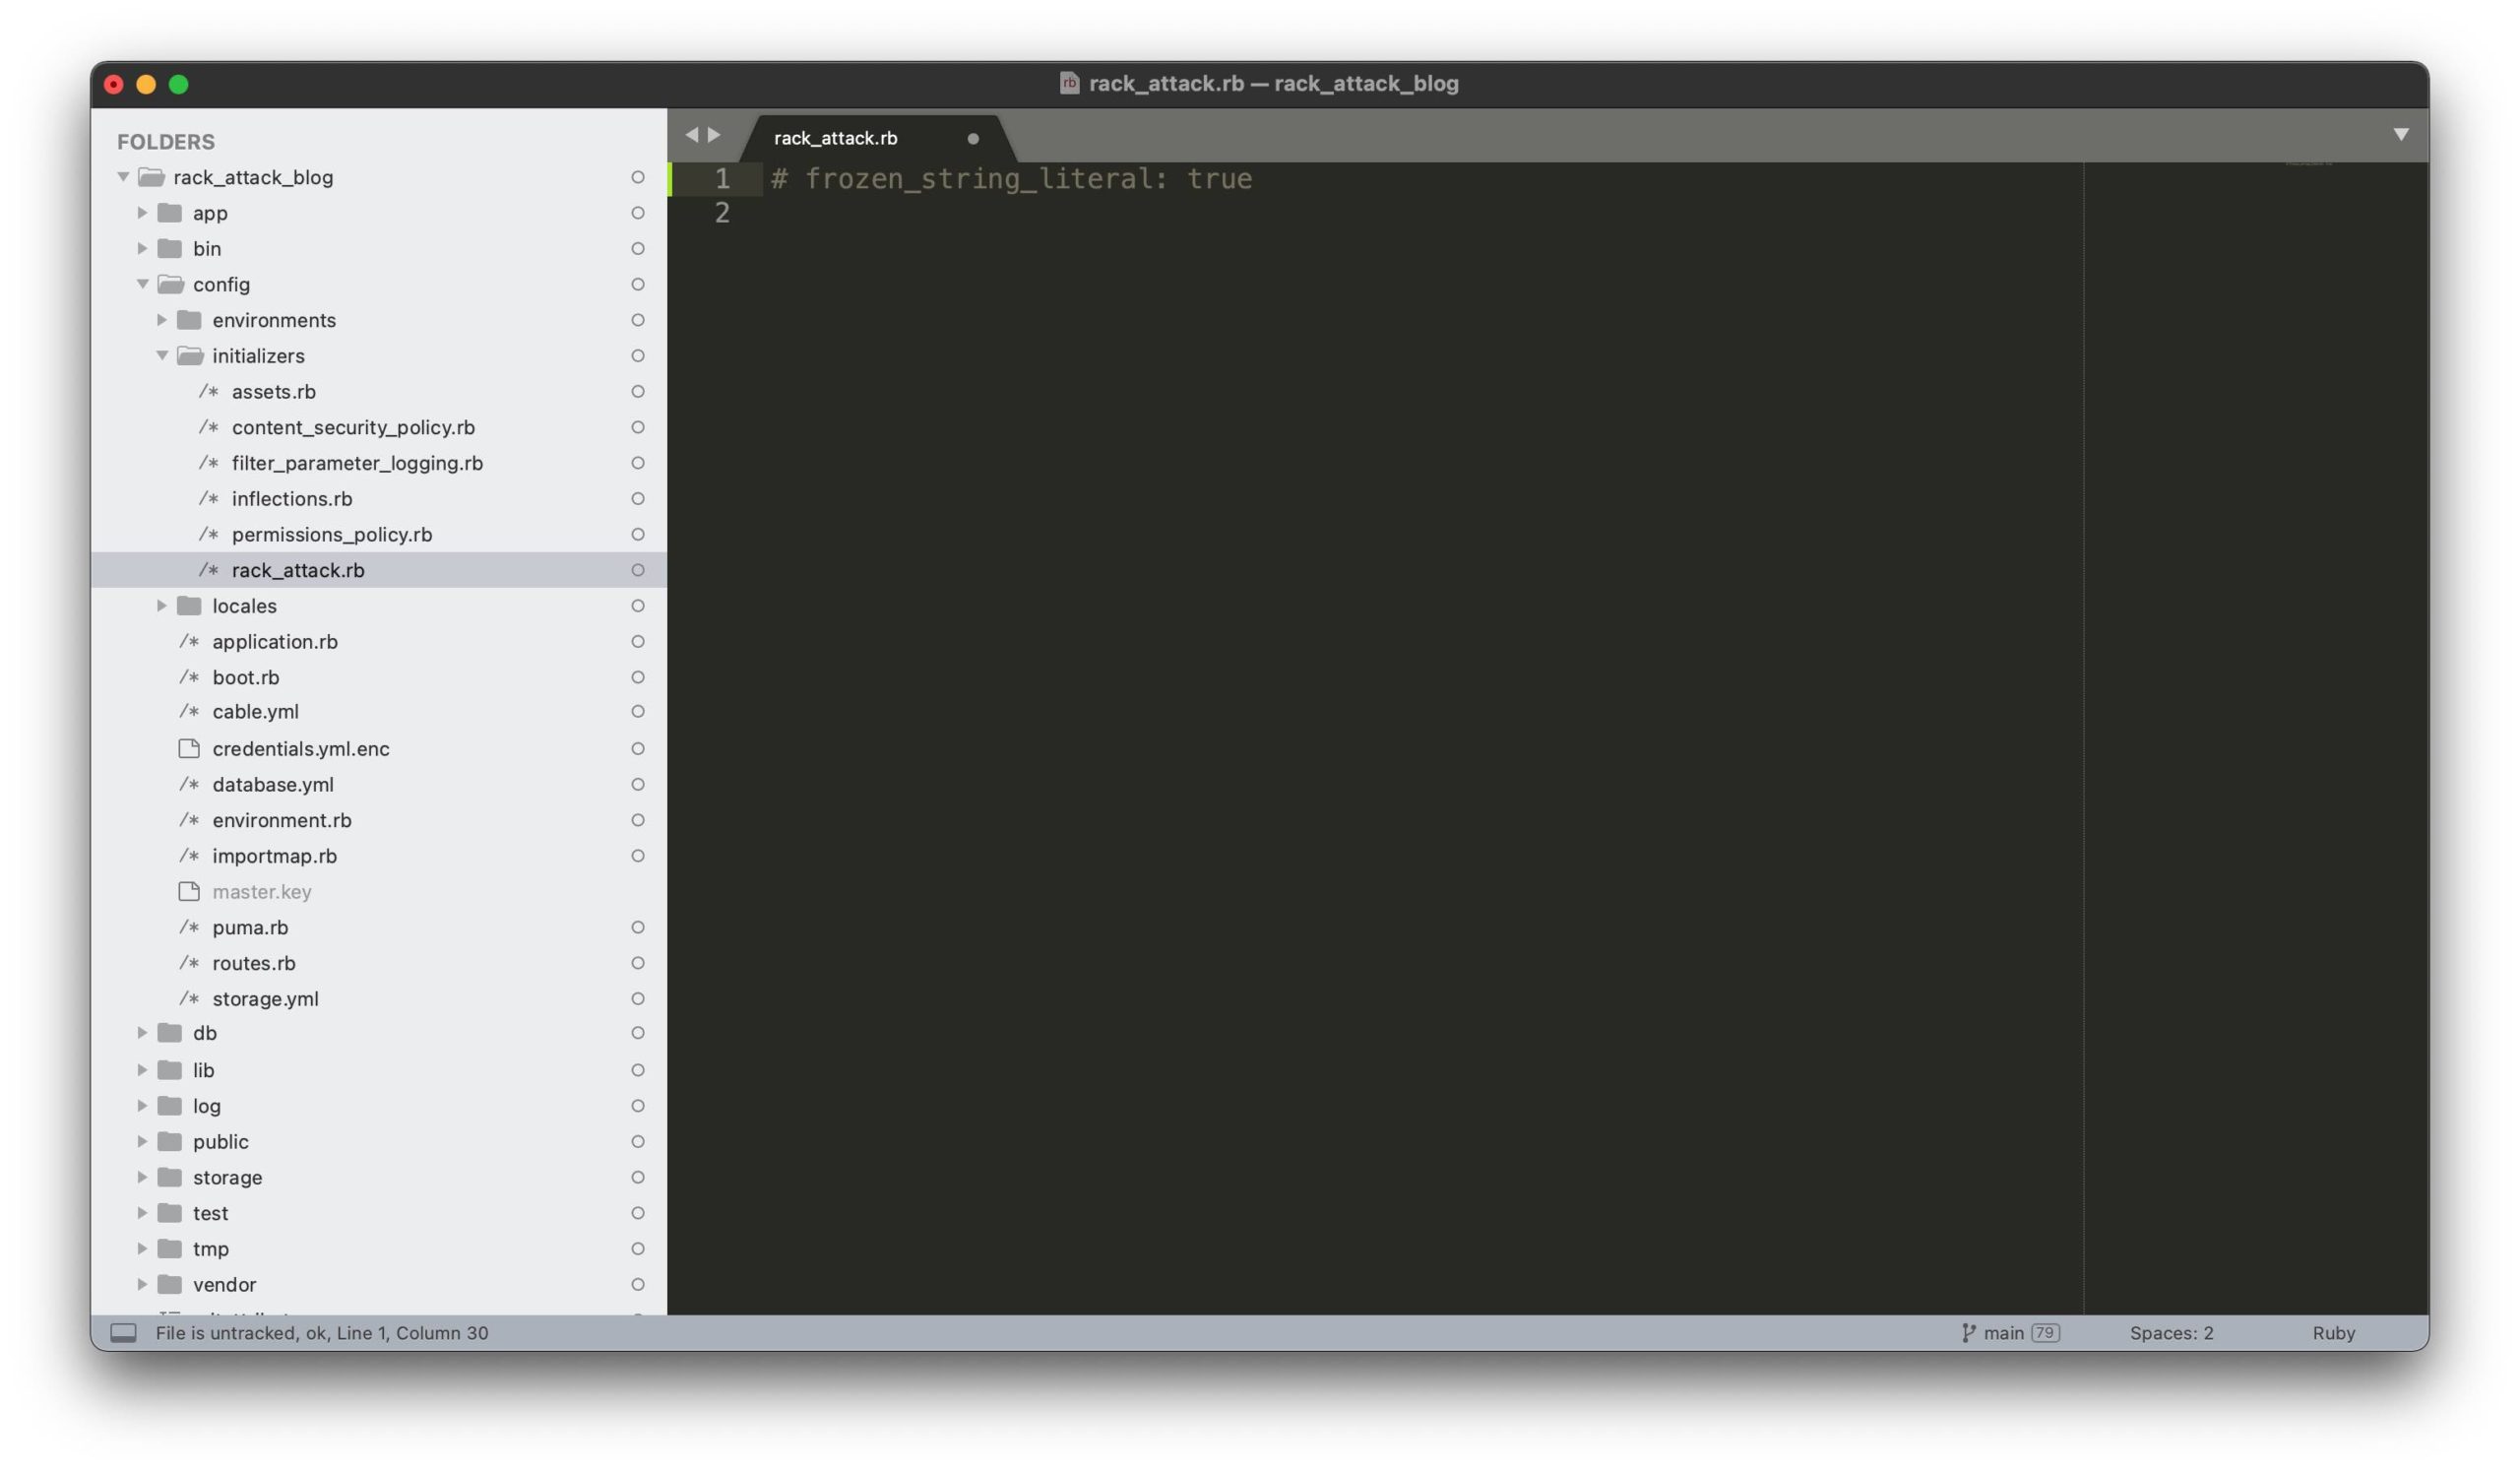
Once you have this file in place you can start writing the rules that will define if your application will allow or deny an incoming request.
Rack::Attack offers three main categories of rules: safelisting, blocking and throttling. On top of that, it offers tracks for logging and instrumenting requests.
Let’s look at each category of rules in more detail.
Safelisting
Safelist rules have precedence over blocklist and throttle rules. That means that if any request matches a safelist, it would be directly allowed despite what you have defined later.
You can either safelist IPs that you know can be trusted using safelist_ip:
|
1 2 |
# Safelist trusted IP addresses Rack::Attack.safelist_ip("5.198.34.128") |
Or use safelist, which yields the request to a block so that you can check its properties and decide to safelist requests based on some conditions. Remember that the result of the block must be truthy for Rack::Attack to safelist a request.
|
1 2 3 4 |
Rack::Attack.safelist("legit API users") do |req| # Requests are allowed if the value of the X-API-Key header is correct. req.get_header("HTTP_X_API_KEY") == "secret-api-key" end |
Blocking
The next thing to be checked are blocklists.
Similarly to safelisting, you can either block IPs that you know are malicious using blocklist_ip:
|
1 2 |
# Blocklist malicious IP addresses Rack::Attack.blocklist_ip("8.324.4.168") |
Or again, use blocklist, which yields the request to a block so that you can check its properties and decide to blocklist requests based on some conditions. Just like safelisting, the result of the block must be truthy for Rack::Attack to blocklist a request.
|
1 2 3 4 |
Rack::Attack.blocklist("block access to sidekiq dashboard") do |req| # Requests are blocked if the return value is truthy req.path.start_with?("/sidekiq") end |
There are two options that can be combined with blocklists: Fail2Ban and Allow2Ban, that give you more control on how you can block misbehaving requests based on some parameters.
If you want to know more about Fail2Ban and Allow2Ban, you can check its documentation on Rack::Attack‘s page.
Throttling
With throttle you can limit the number of requests a user is able to do within a given period of time.
To accomplish that, you can use the throttle method, with the following options:
- a
limit, representing the number of requests that are allowed within a period of time. - a
period, which represents the duration of the period of time in which the limit applies. - and a
block, which must return the discriminator that will be used to determine who is doing the request.
For example, if we want to limit the number of requests a given IP address can do to 5 within a minute we could use the following:
|
1 2 3 |
Rack::Attack.throttle("Requests by IP", limit: 5, period: 60.seconds) do |req| req.ip end |
Sometimes throttling by IP address is not be the best option,. For example, if you have many users that share the same IP address, you might instead want to use other discriminator, like email address or user ID:
|
1 2 3 4 5 6 7 8 9 10 11 12 13 14 15 |
module Rack class Attack class Request < ::Rack::Request def user_id_from_jwt_token # A method that extracts the user_id from the Authentication JWT token # You do not need to add this, you can put all the code within the # Rack::Attack.throttle block if you prefer end end end end Rack::Attack.throttle("Requests by user ID", limit: 5, period: 60.seconds) do |req| req.user_id_from_jwt_token end |
Tracks
Tracks do not affect how the request is processed. Instead, they are an instrumentation tool to let you define which requests should be logged or measured.
|
1 2 3 4 5 6 7 8 9 10 11 12 13 |
# Track requests to /admin. Rack::Attack.track("admin") do |req| request.path.start_with?("/admin") end # Notify about track matches using ActiveSupport::Notifications ActiveSupport::Notifications.subscribe("track.rack_attack") do |name, start, finish, request_id, payload| req = payload[:request] if req.env['rack.attack.matched'] == "admin" Rails.logger.info "Request to admin: #{req.path}" # Here you could send metrics to Datadog or whatever tool you use. end end |
A matter of priorities
Do you remember the Rack::Attacklike listing from above with the should_allow? method? Now that you know about the different kinds of rules and their priorities, it is time to make things more clear. The middleware actually looks more like this:
|
1 2 3 4 5 6 7 8 9 10 11 12 13 14 |
def call(env) req = Rack::Attack::Request.new(env) if safelisted?(req) @app.call(env) elsif blocklisted?(req) self.class.blocklisted_responder.call(req) elsif throttled?(req) self.class.throttled_responder.call(req) else tracked?(req) @app.call(env) end end |
- This means that safelisted requests have the highest priority. If a request matches any safelist, it is directly allowed.
- Otherwise, if the request matches any blocklist, it is blocked.
- Otherwise, if the request matches any throttle, its counter is incremented. If any throttle’s limit is exceeded, the request is blocked.
- Otherwise, all tracks are checked, and the request is allowed.
Rack::Attack in action!
To show how Rack::Attack works, let’s assume you have a Rails blog application with a simple PostsController. Posts have a title, a body and a boolean telling whether they are published.
If you want to limit the number of times an IP address can do a request to your application to 5 requests every 30 seconds, you could add this to your application’s config/initializers/rack_attack.rb file.
|
1 2 3 |
Rack::Attack.throttle("Requests by IP", limit: 5, period: 30.seconds) do |req| req.ip end |
Then, before you start the application server, make sure you have configured your application’s config.cache_store with something different than :null_store. The reason for that is that Rack::Attack stores throttle, Allow2Ban and Fail2Ban occurrences in Rails’ cache by default.
In a default Rails 7 application, if your are testing this in your development environment, you can run bin/rails dev:cache to toggle the development cache. In production, make sure config.cache_store has a meaningful value in config/environments/production.rb.
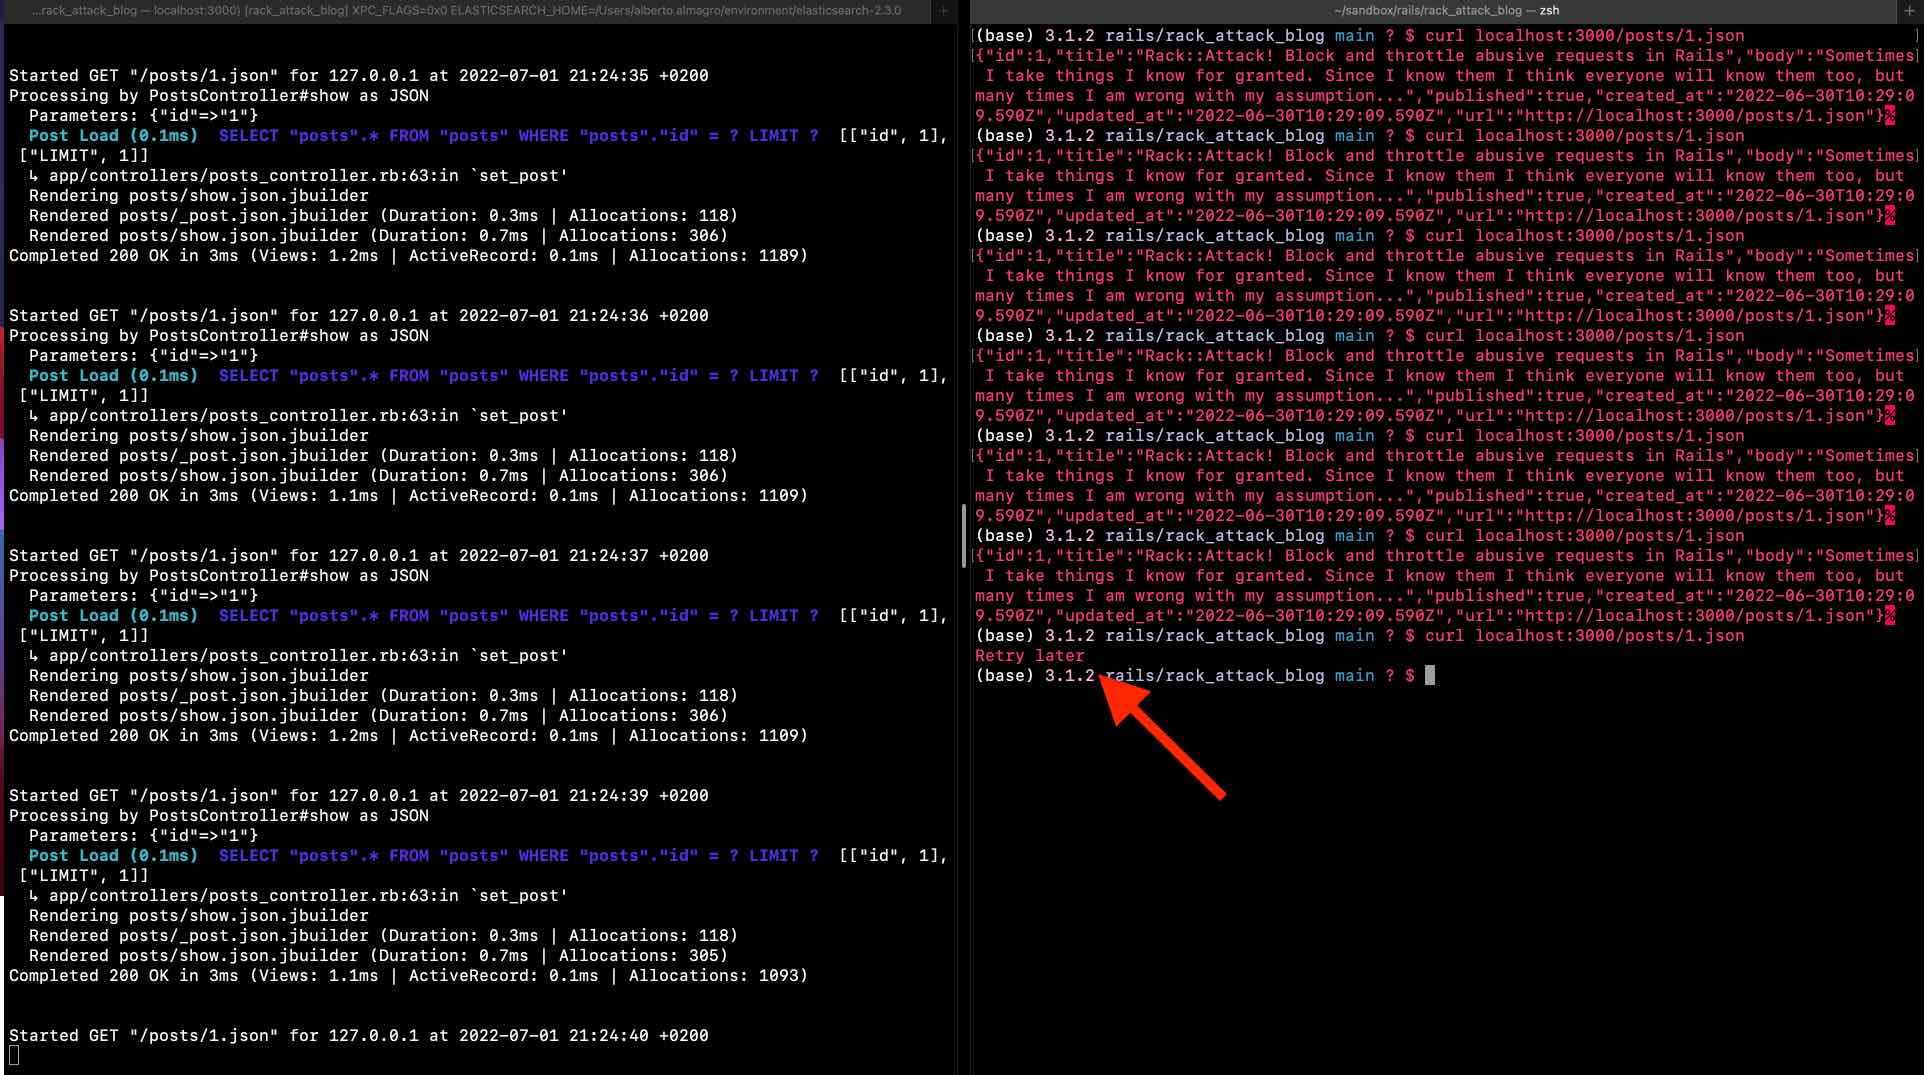
Once the cache has been configured, start the application server and let’s do some requests using curl.
As you can see in the following picture, as soon as you send more requests than what you have configured to be allowed in that period of time, Rails starts returning Retry later, meaning that Rack::Attack is throttling those requests.
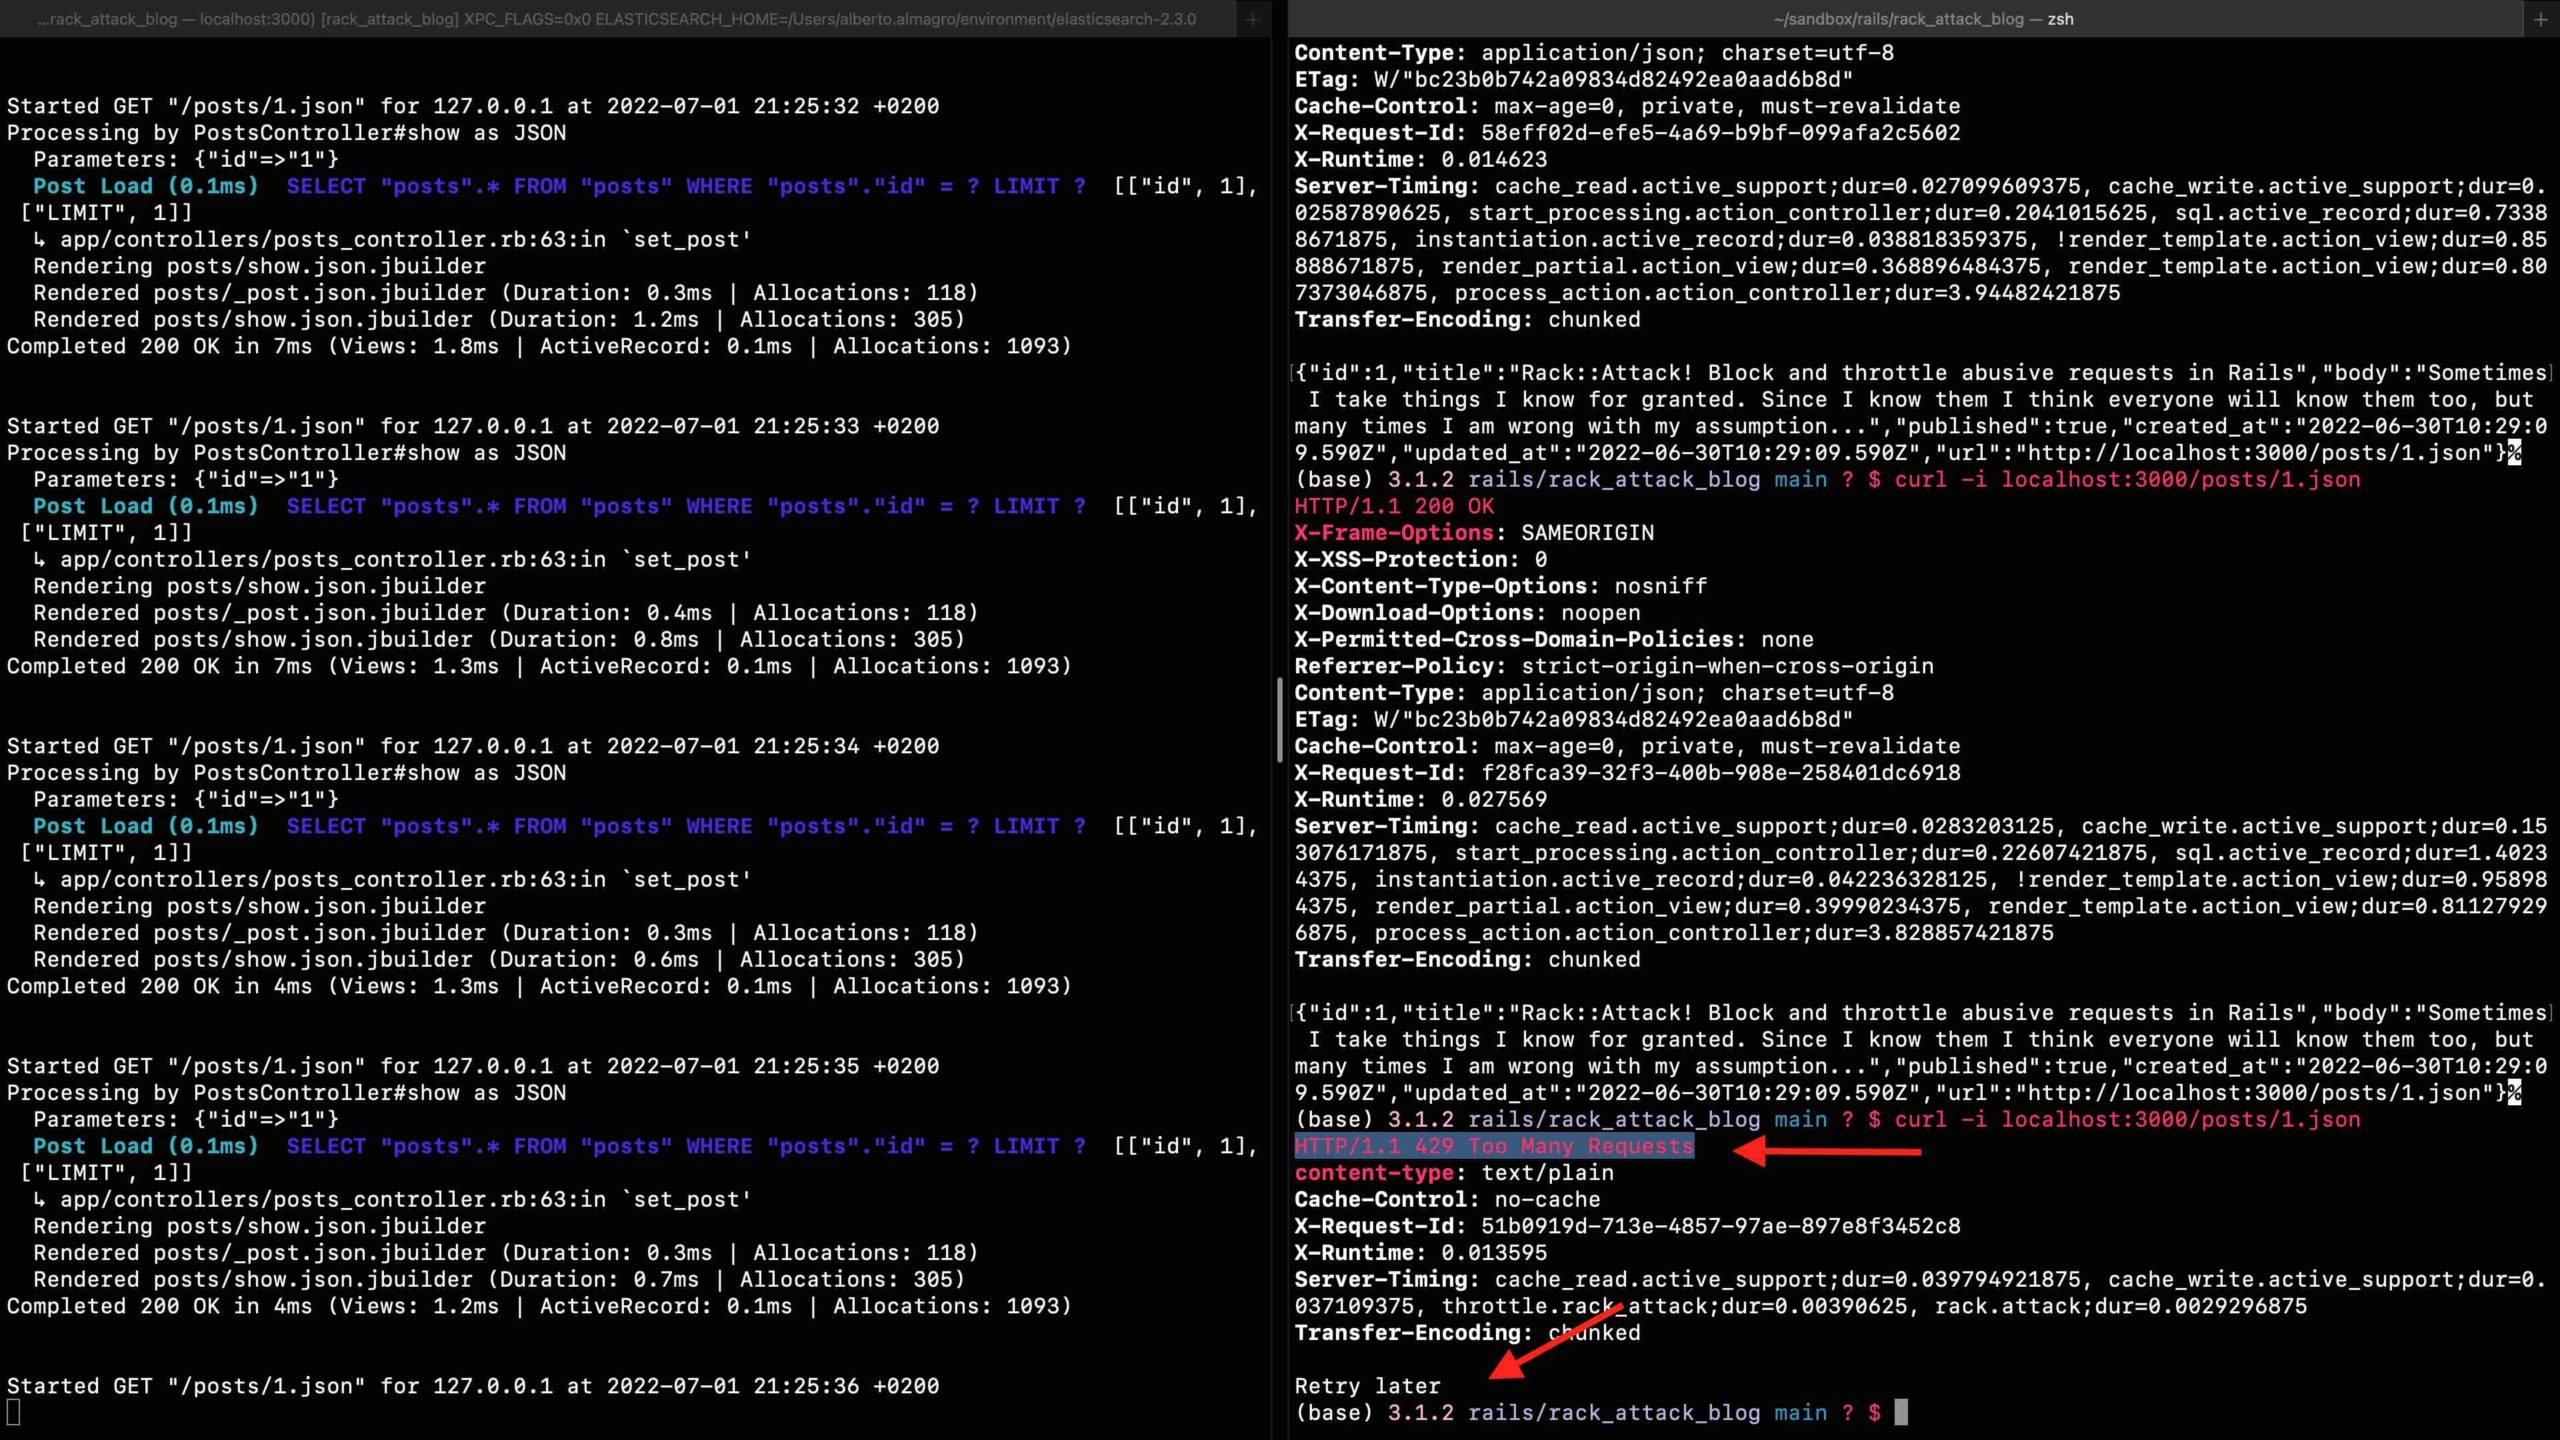
If you add the -i flag to the curl command in order to see the response’s headers, you should be able to see that it is returning HTTP code 429 Too Many Requests.
And that is basically it. Now that you know the basics on how to block and throttle abusive requests in Rails, do not forget to check Rack::Attacks‘s documentation page to learn more about all the configuration options it has!
If you enjoyed this post, do not forget to subscribe so that you do not miss any of my future updates. If you want me to write about something in particular, you can let me know about it in the comment section below.
See you in my next post! Adiós!
Excelente alberto!
Thank you Braga! 🙏