What is TDD?
TDD, or Test Driven Development, is a software development process composed of three phases. These three phases work in incremental cycles until the functionality is ready.
- Write a failing test ❌
- Write the minimum code to make that test pass ✅
- Refactor ♽
How does TDD work?
Let’s describe how the TDD cycle would work to code a complex functionality. You would start the cycle by first adding a failing test that covers some basic aspect of the functionality you want to build, but without adding any code yet. The second step would be to write the minimum code to make that test pass. The third phase of the cycle would be to refactor the code you added following best practices, in case it is necessary.
On the next iteration of the cycle you would add again a failing test that covers another aspect of the functionality, starting the TDD cycle again.
You should continue iterating until the new functionality is ready.
TDD in Ruby on Rails
Now that you know what TDD is and how it works, let’s see it in action. In this example you will learn how I build a basic feature with Ruby on Rails using TDD.
Let’s imagine that you have an e-commerce and you want to be able to create products through a new API endpoint.
To keep things simple a product should have at least a name and a price in cents. This price must always be higher or equal than zero.
How would you start? If you take a look to the TDD definition from above you should create the functionality in increments. Each time you will write a failing test for an aspect of the functionality, write the code to make it pass and refactor. After that, you will write another failing test and continue this cycle until the functionality is complete.
The first step will be to ensure you have and endpoint to create products. Note that at this stage we will just focus on having the endpoint. We will leave the parameter validations for the last iteration.
Setup
For this example I created a new Rails 7 API app with the following command rails new product-api-example -T --api. Then set RSpec as test framework by adding it to the :development, :test group of the Gemfile:
|
1 2 3 4 5 |
group :development, :test do # See https://guides.rubyonrails.org/debugging_rails_applications.html#debugging-with-the-debug-gem gem "debug", platforms: %i[ mri mingw x64_mingw ] gem "rspec-rails", "~> 6.0.0" end |
Run bundle install in a terminal to install dependencies.
And then run bin/rails g rspec:install to create RSpec config files.
First iteration: the endpoint
Let’s now create a request spec test. The test will ensure that the API has an endpoint to create products.
|
1 2 3 4 5 6 7 8 9 10 11 12 13 14 15 16 17 18 19 20 21 |
require "rails_helper" RSpec.describe "Products endpoints", request: true do describe "POST /api/v1/products" do context "when all parameters are provided" do it "creates a product" do params = { product: { name: "Fancy sneakers", description: "Lorem ipsum dolor sit", price: 5000 # In $ cents } } expect do post api_v1_products_url, params: params end.to change(Product, :count).by(1) end end end end |
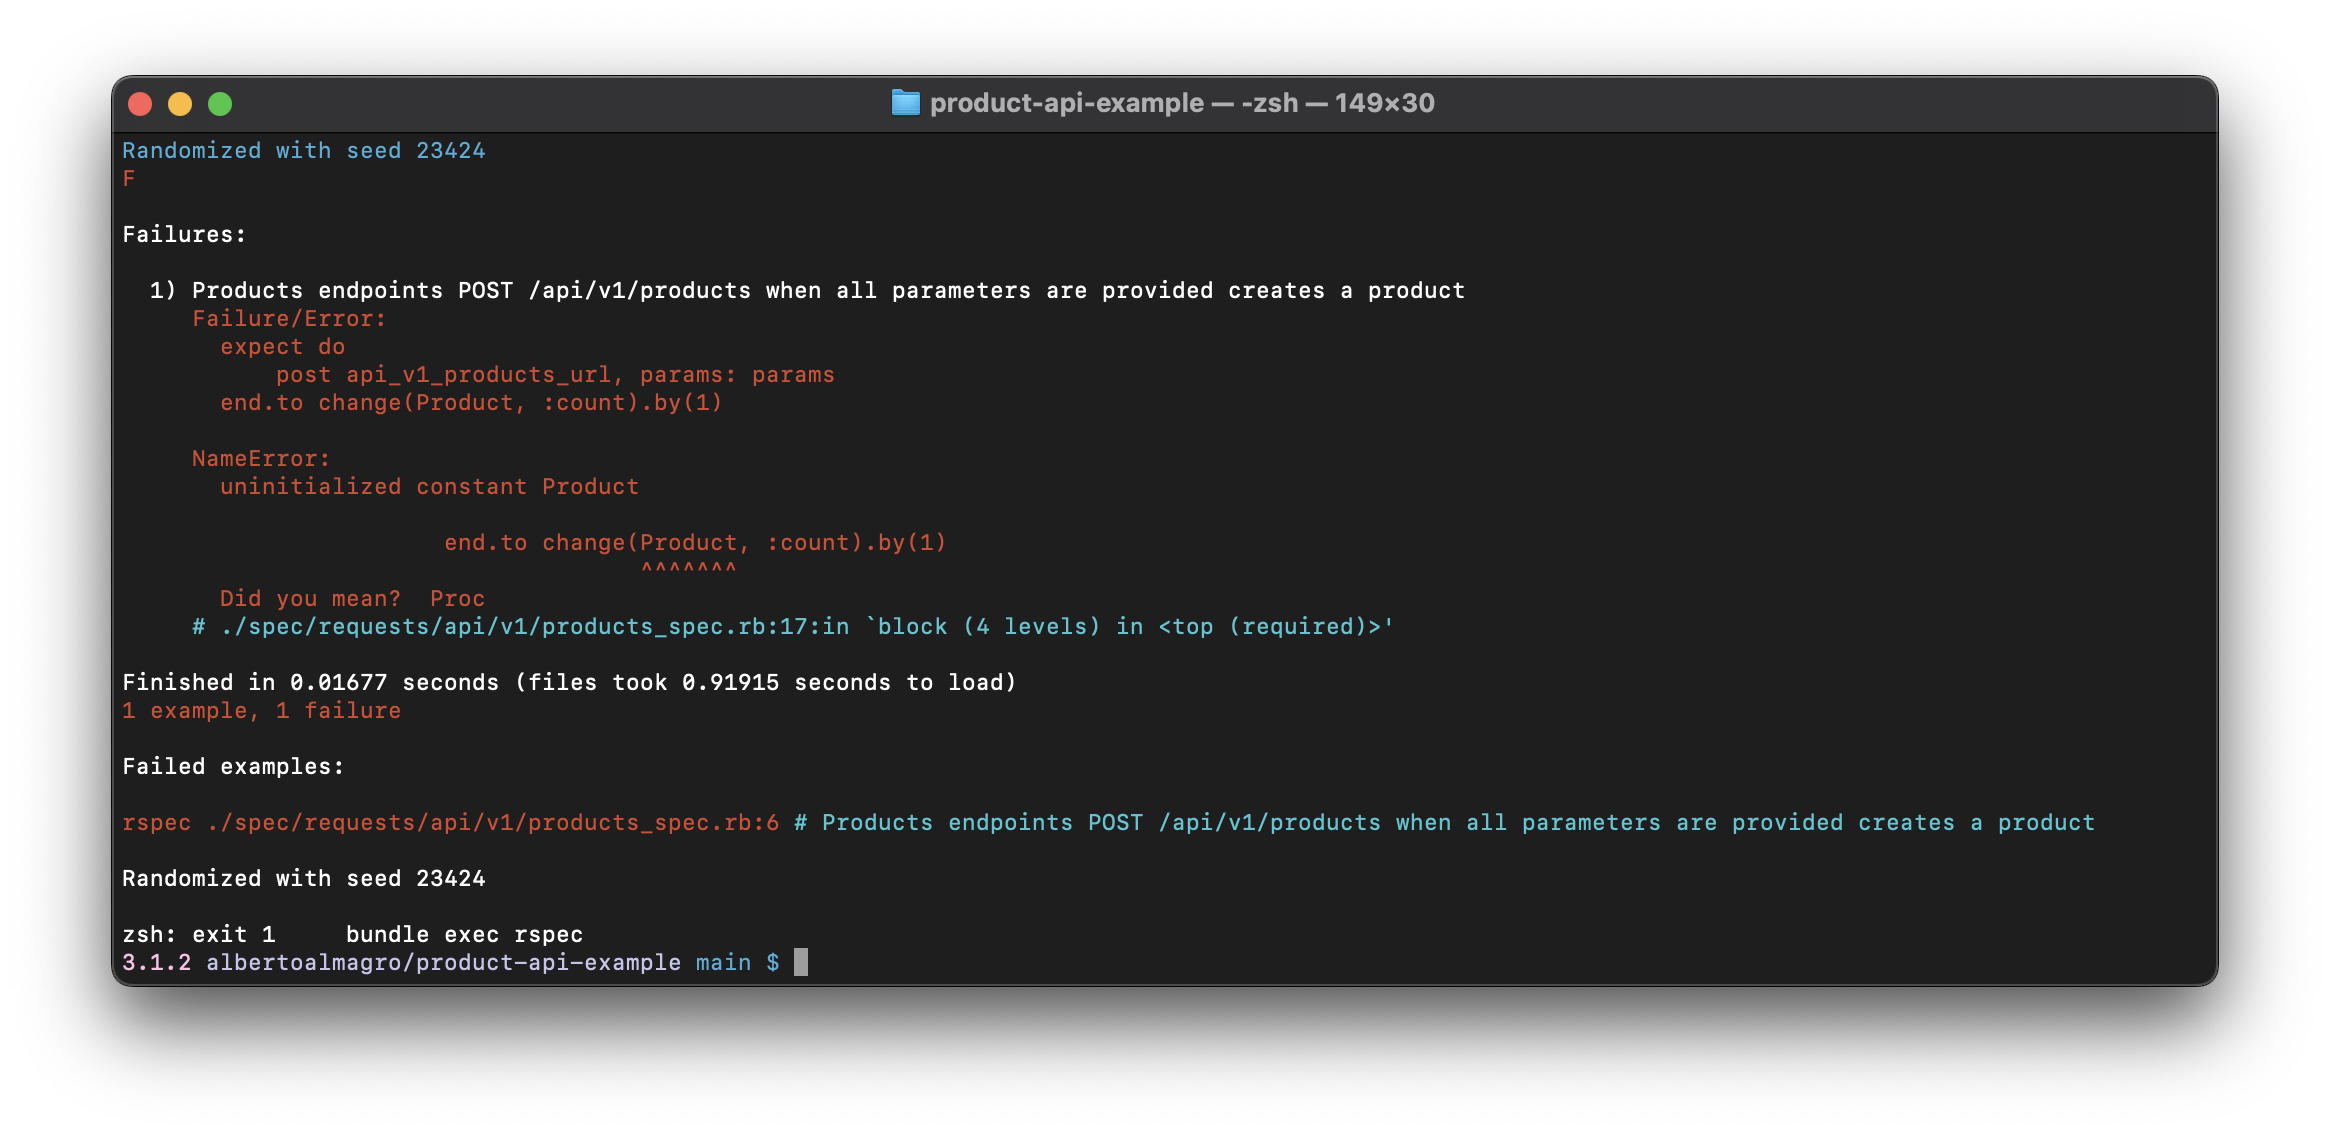
If you run the specs at this point it will complain about a missing Product constant.
Let’s add the Product model then:
|
1 2 |
class Product < ApplicationRecord end |
Now let’s run the test again and continue doing this until we make it pass.
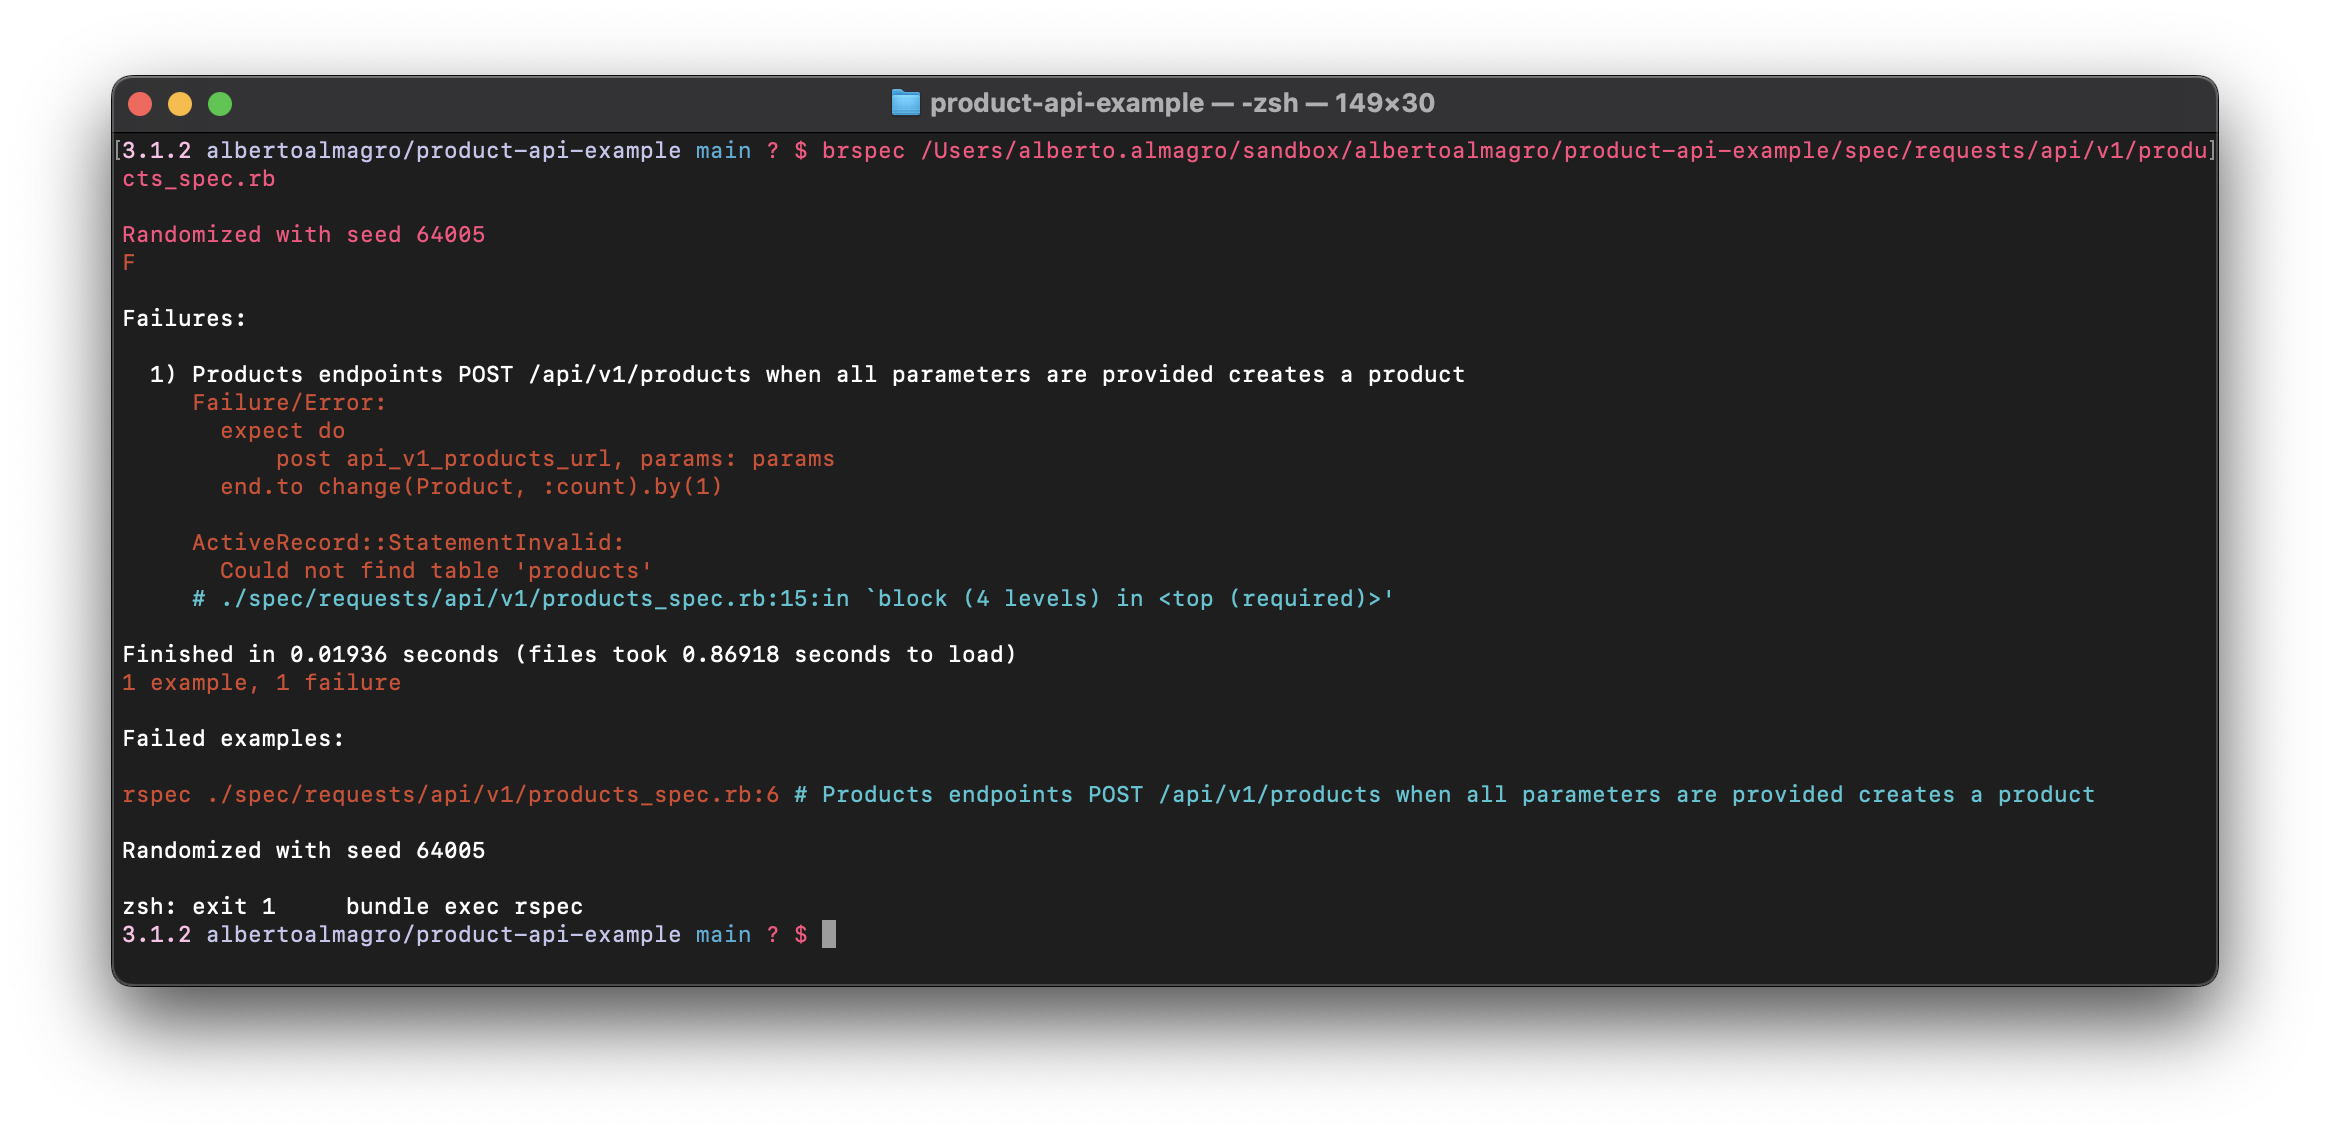
The next problem we need to solve is to create the products table. Let’s create and run a migration for that.
In a terminal run bin/rails g migration CreateProducts name description:text price:integer
That should produce something similar to this:
|
1 2 3 4 5 6 7 8 9 10 11 12 |
class Product < ApplicationRecord endclass CreateProducts < ActiveRecord::Migration[7.0] def change create_table :products do |t| t.string :name t.text :description t.integer :price t.timestamps end end end |
Now, in a terminal, run bin/rails db:migrate to apply the migration.
You might have noticed that I am following the methodology very strictly. You could also do several steps at a time. For example, you could create the model and the migration at the same time with a generator. However, I think newbies will benefit from the idea that you can build features by just adding a test and fixing the errors that are presented to you.
Back to the test. If we run it again now we now get: undefined local variable or method `api_v1_products_url'. Which means that it is time to create a new route.
Open config/routes.rb and add the following:
|
1 2 3 4 5 6 7 |
Rails.application.routes.draw do namespace :api do namespace :v1 do resource :products, only: %i[create] end end end |
Now it complains about the Api constant. I will cheat a little bit here and add the controller class within the Api and V1 modules already, but you could do it step by step too.
|
1 2 |
class Api::V1::ProductsController < ApplicationController end |
If you run again the test it now complains that the action ‘create’ could not be found. That’s a low hanging fruit for us. Let’s add it to the controller we just created.
|
1 2 3 4 5 |
class Api::V1::ProductsController < ApplicationController def create end end |
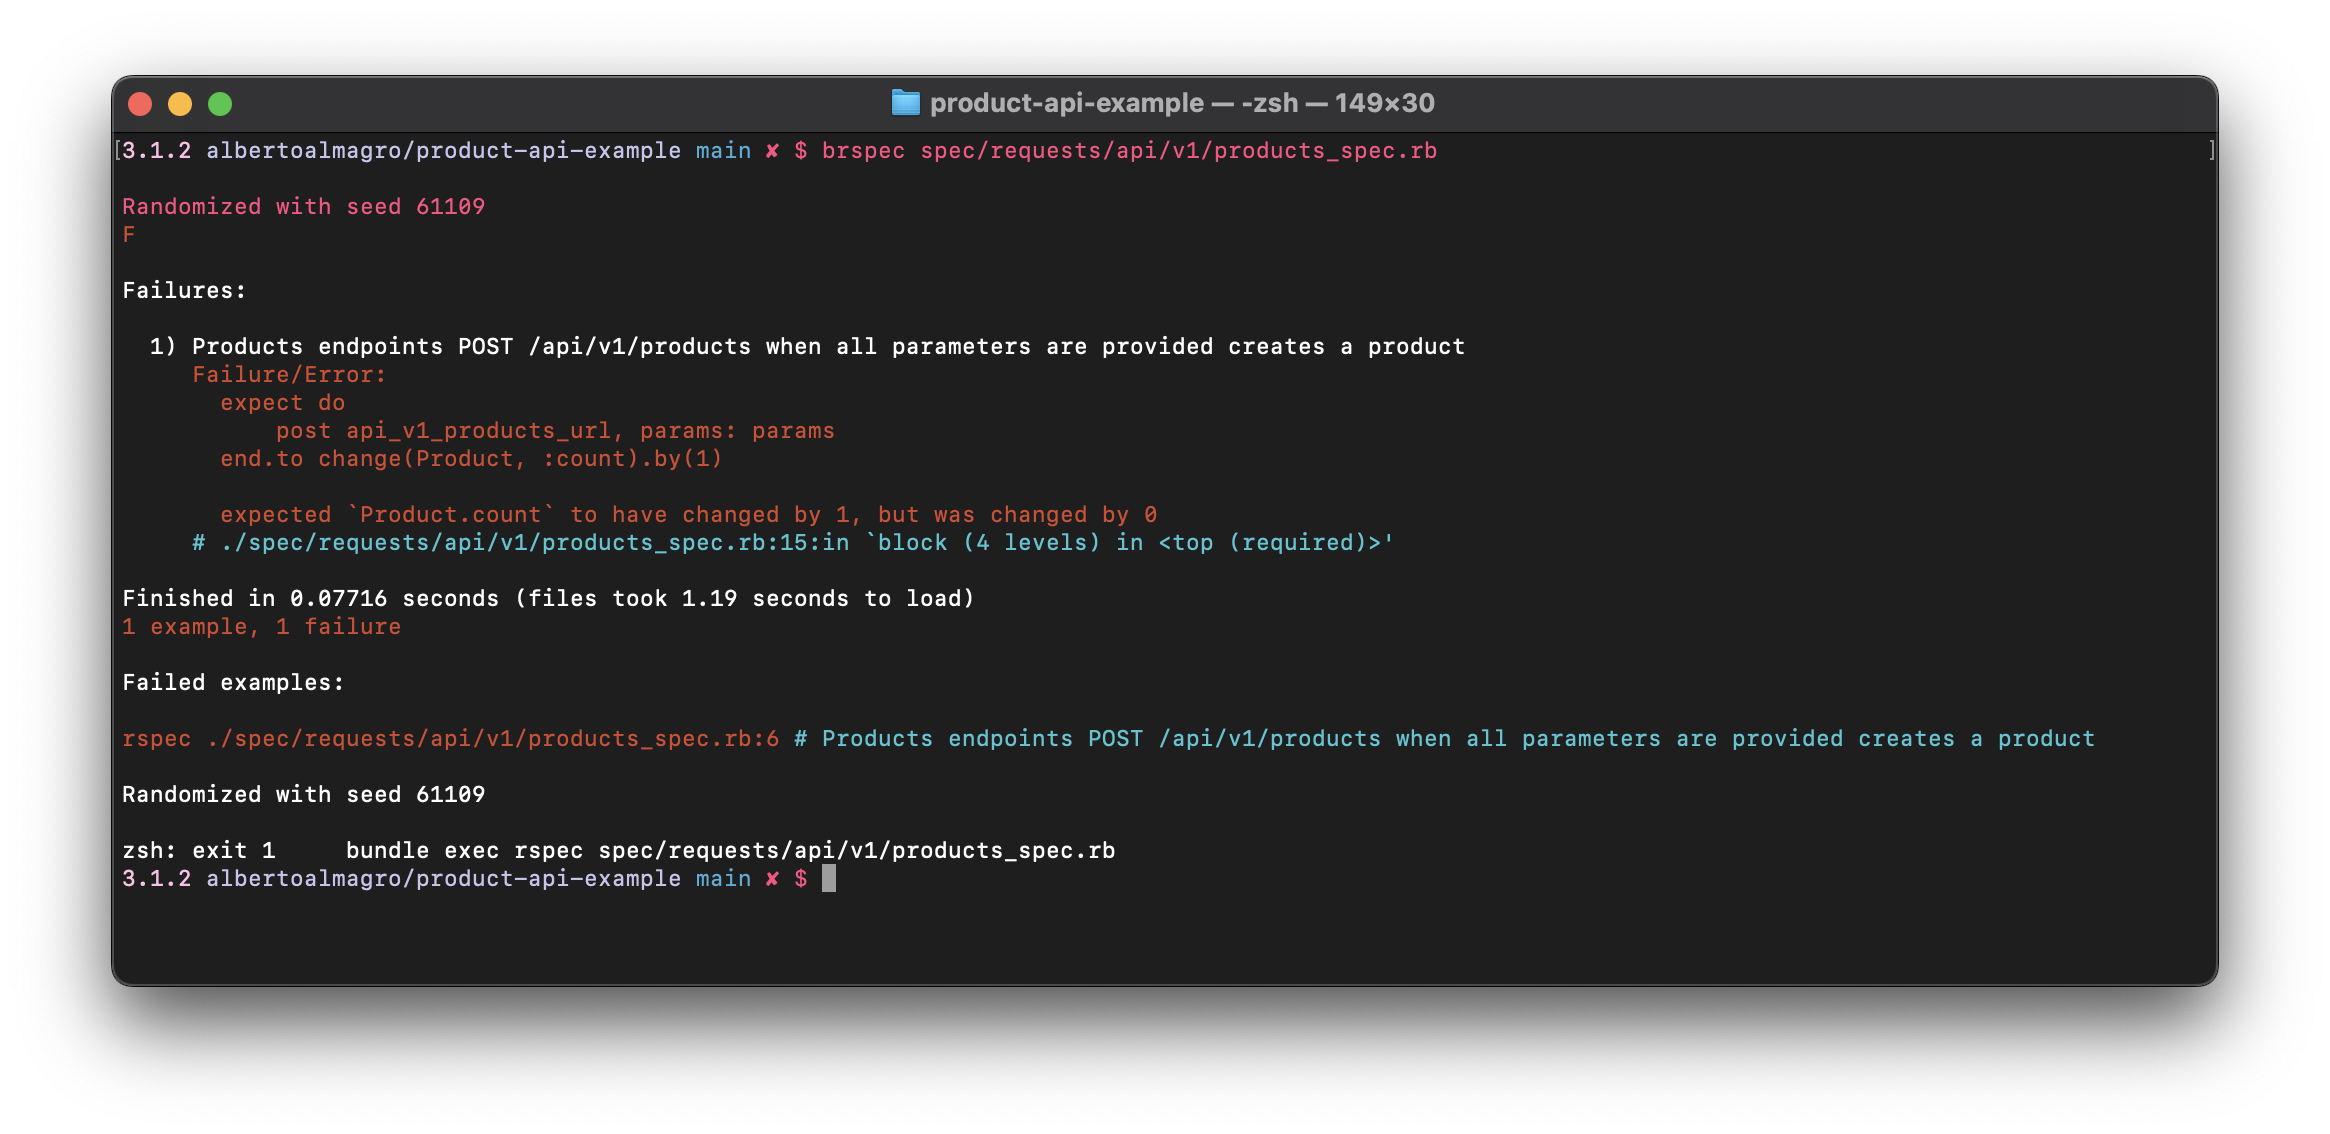
Ok, at this point we are not getting any missing stuff errors anymore. The issue now is that no product is actually being created.
Since we are following TDD, we will just writing the minimum code to make the test pass. Let’s just create a Product:
|
1 2 3 4 5 |
class Api::V1::ProductsController < ApplicationController def create Product.create end end |
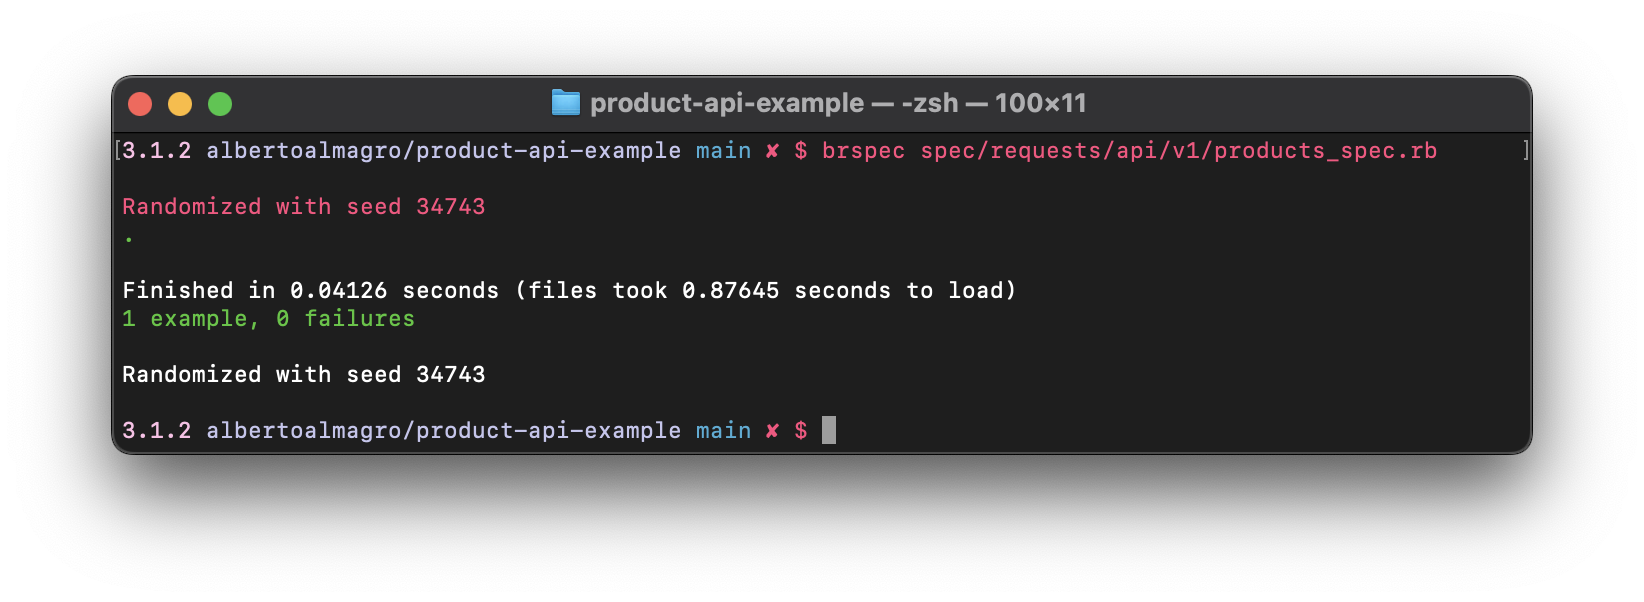
And as you can imagine… tests are now green! ✅ 🎉
Second iteration: creating something useful
Tests are green. That’s true. But we haven’t finished here yet.
Let’s now add a test to check that the values we provided are actually set.
|
1 2 3 4 5 6 7 8 9 10 11 12 13 14 15 16 |
it "sets the values as the provided params" do params = { product: { name: "Fancy sneakers", description: "Lorem ipsum dolor sit", price: 5000 # In $ cents } } post api_v1_products_url, params: params product = Product.last expect(product.name).to eq("Fancy sneakers") expect(product.description).to eq("Lorem ipsum dolor sit") expect(product.price).to eq(5000) end |
Now let’s run the test again…

As you could expect, the code we wrote before isn’t setting any value. Let’s set the product name in the controller action.
|
1 2 3 4 5 6 7 8 9 10 11 |
class Api::V1::ProductsController < ApplicationController def create Product.create(product_params) end private def product_params params.require(:product).permit(:name) end end |
If you run the tests now, the product’s description should be nil. Let me add the code to set it together with the price in a single step for brevity’s sake.
|
1 2 3 4 5 6 7 8 9 10 11 |
class Api::V1::ProductsController < ApplicationController def create Product.create(product_params) end private def product_params params.require(:product).permit(:name, :description, :price) end end |
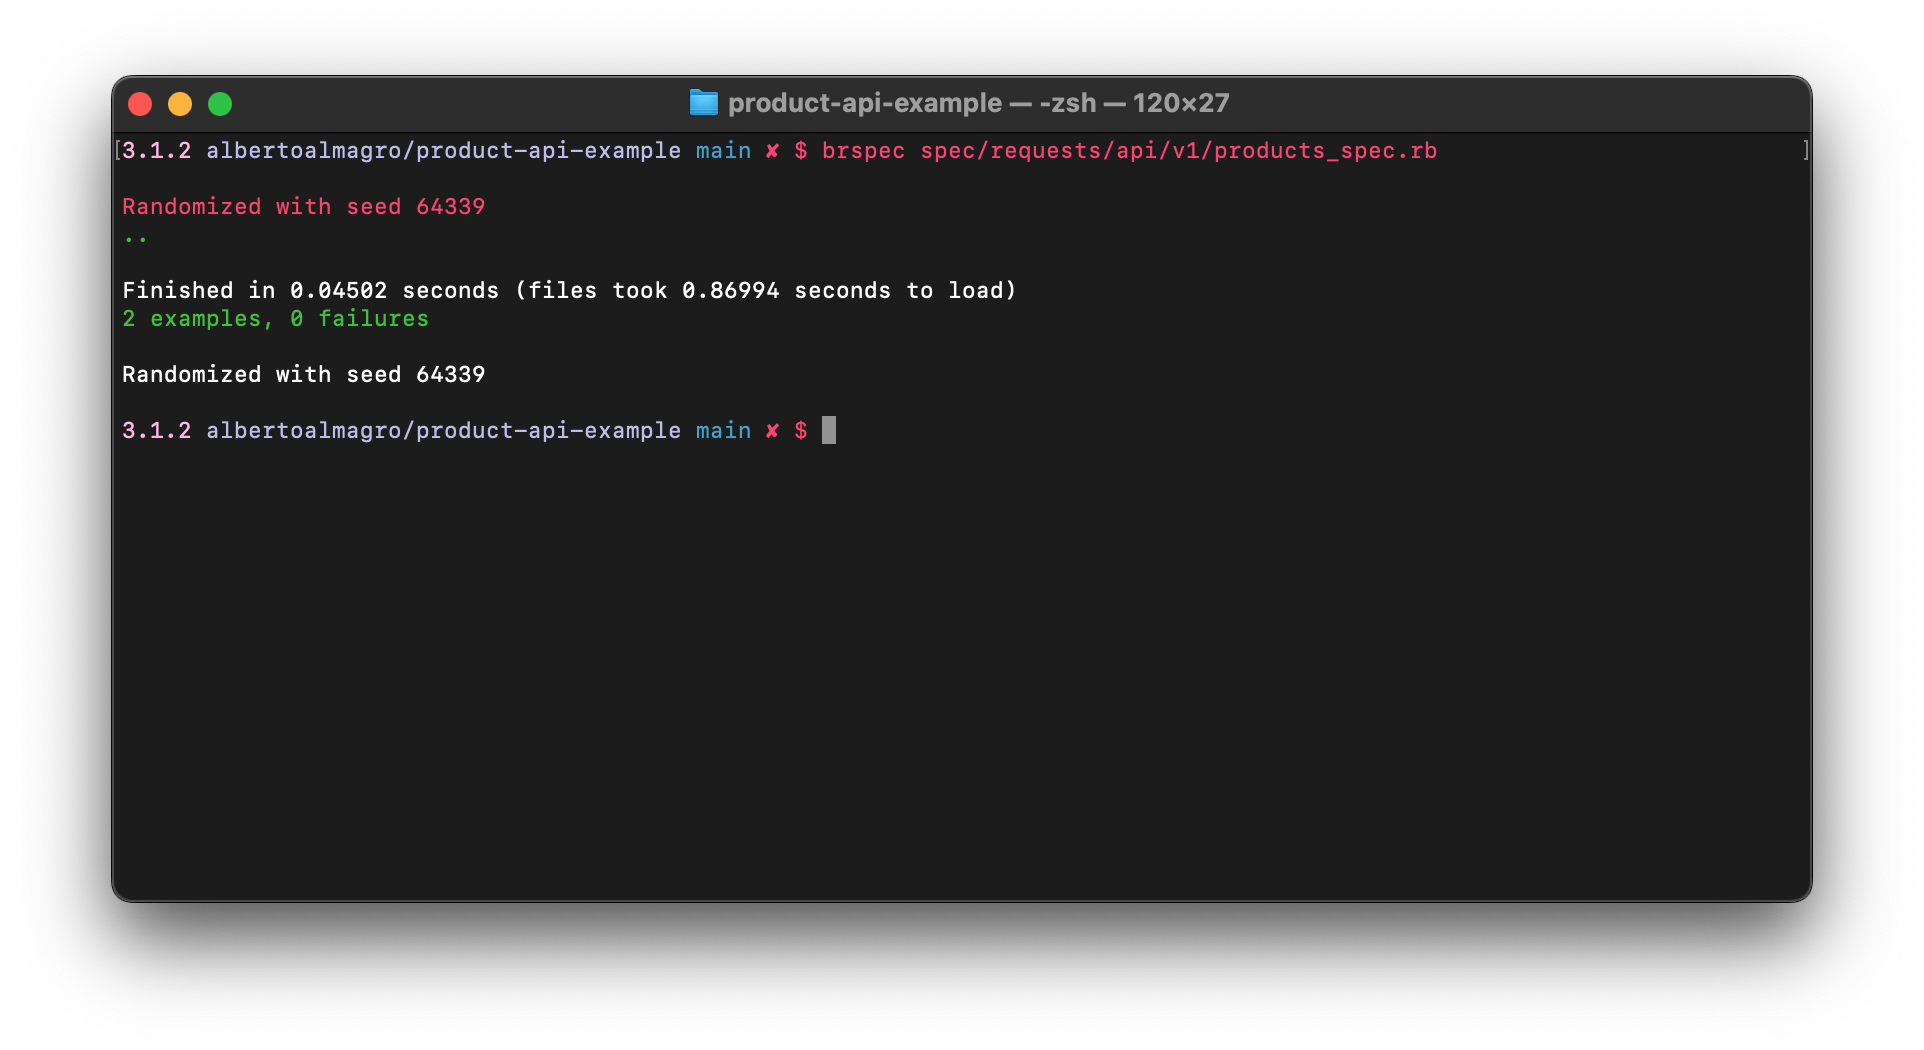
And now if your run the tests… we are back to green! ✅ 🎉
Third iteration: price must not be negative
Let’s once again add a test to ensure that no product should be created if price is negative.
|
1 2 3 4 5 6 7 8 9 10 11 12 13 14 15 16 17 |
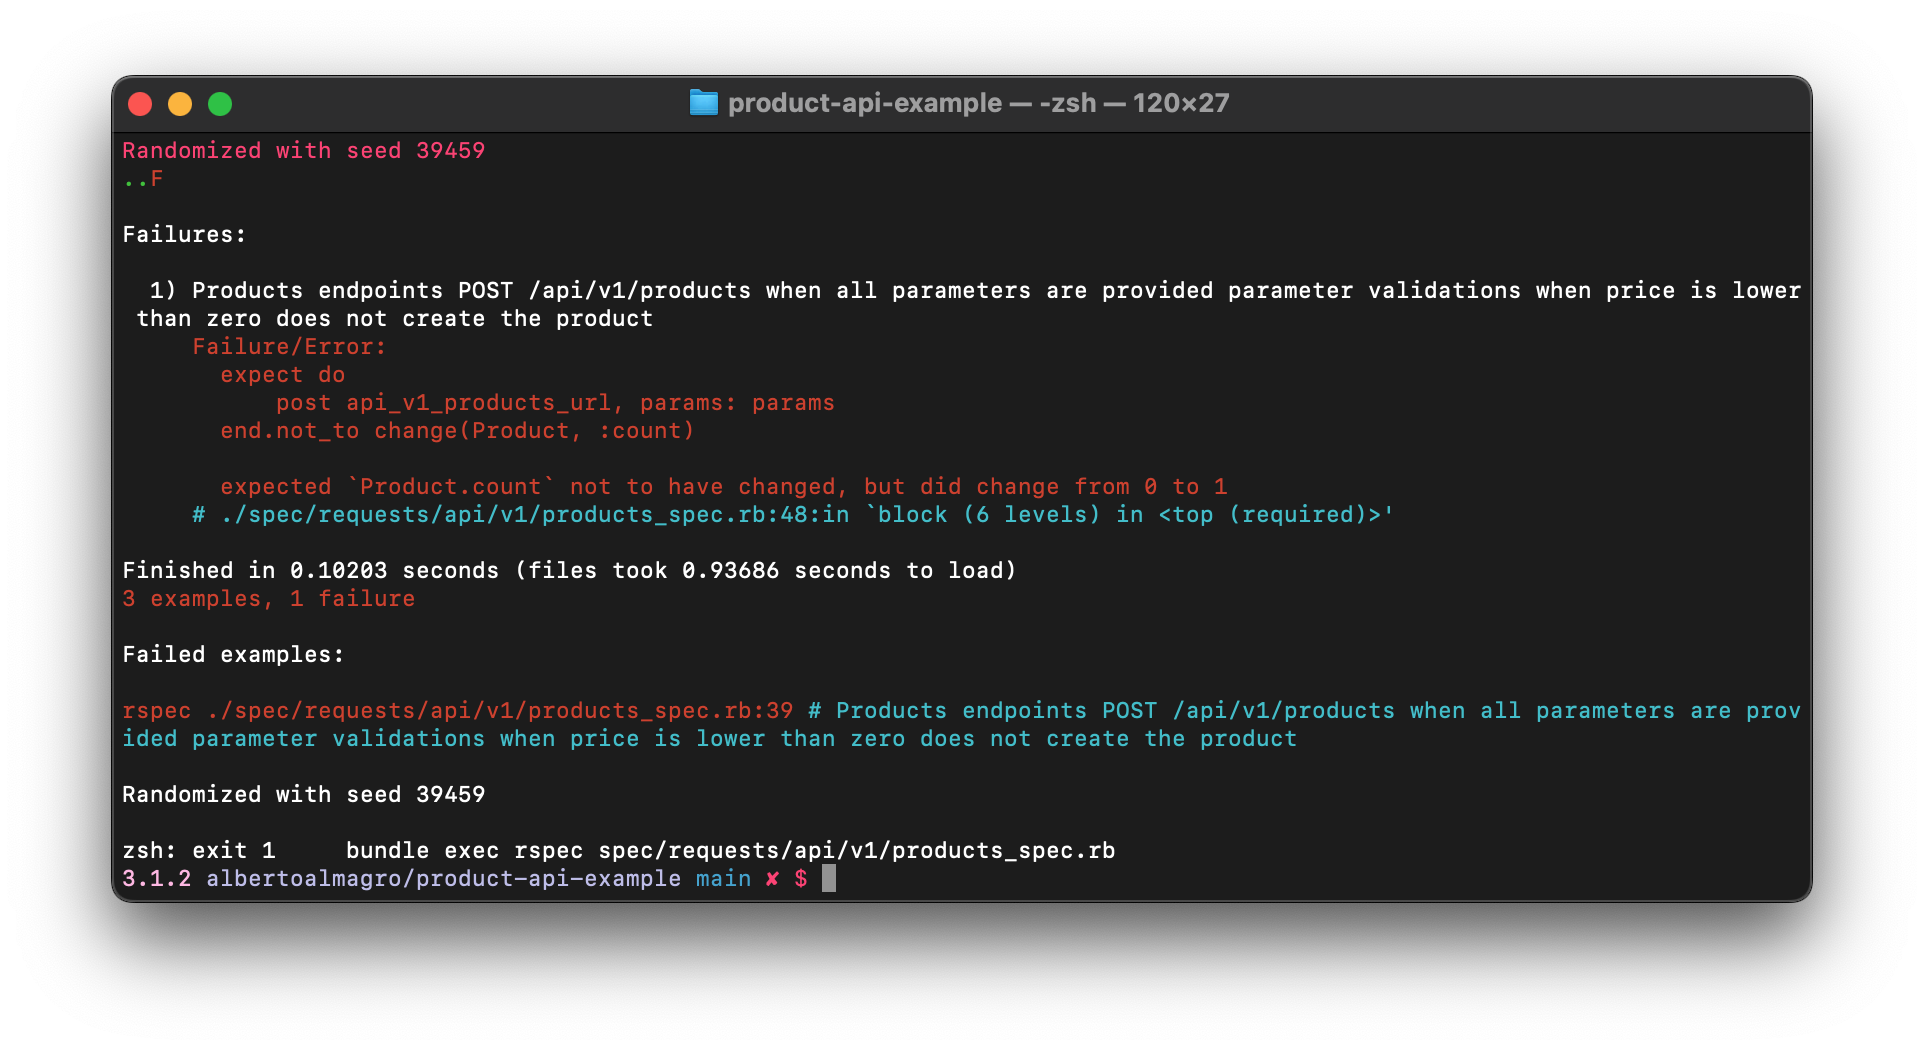
context "parameter validations" do context "when price is lower than zero" do it "does not create the product" do params = { product: { name: "Fancy sneakers", description: "Lorem ipsum dolor sit", price: -5000 # In $ cents } } expect do post api_v1_products_url, params: params end.not_to change(Product, :count) end end end |
And after running the test suite we get a failing test, as expected 🙌
Let’s now add the minimum code to get back to green! Add the following validation to the Product model:
|
1 2 3 |
class Product < ApplicationRecord validates :price, numericality: { greater_than_or_equal_to: 0 } end |
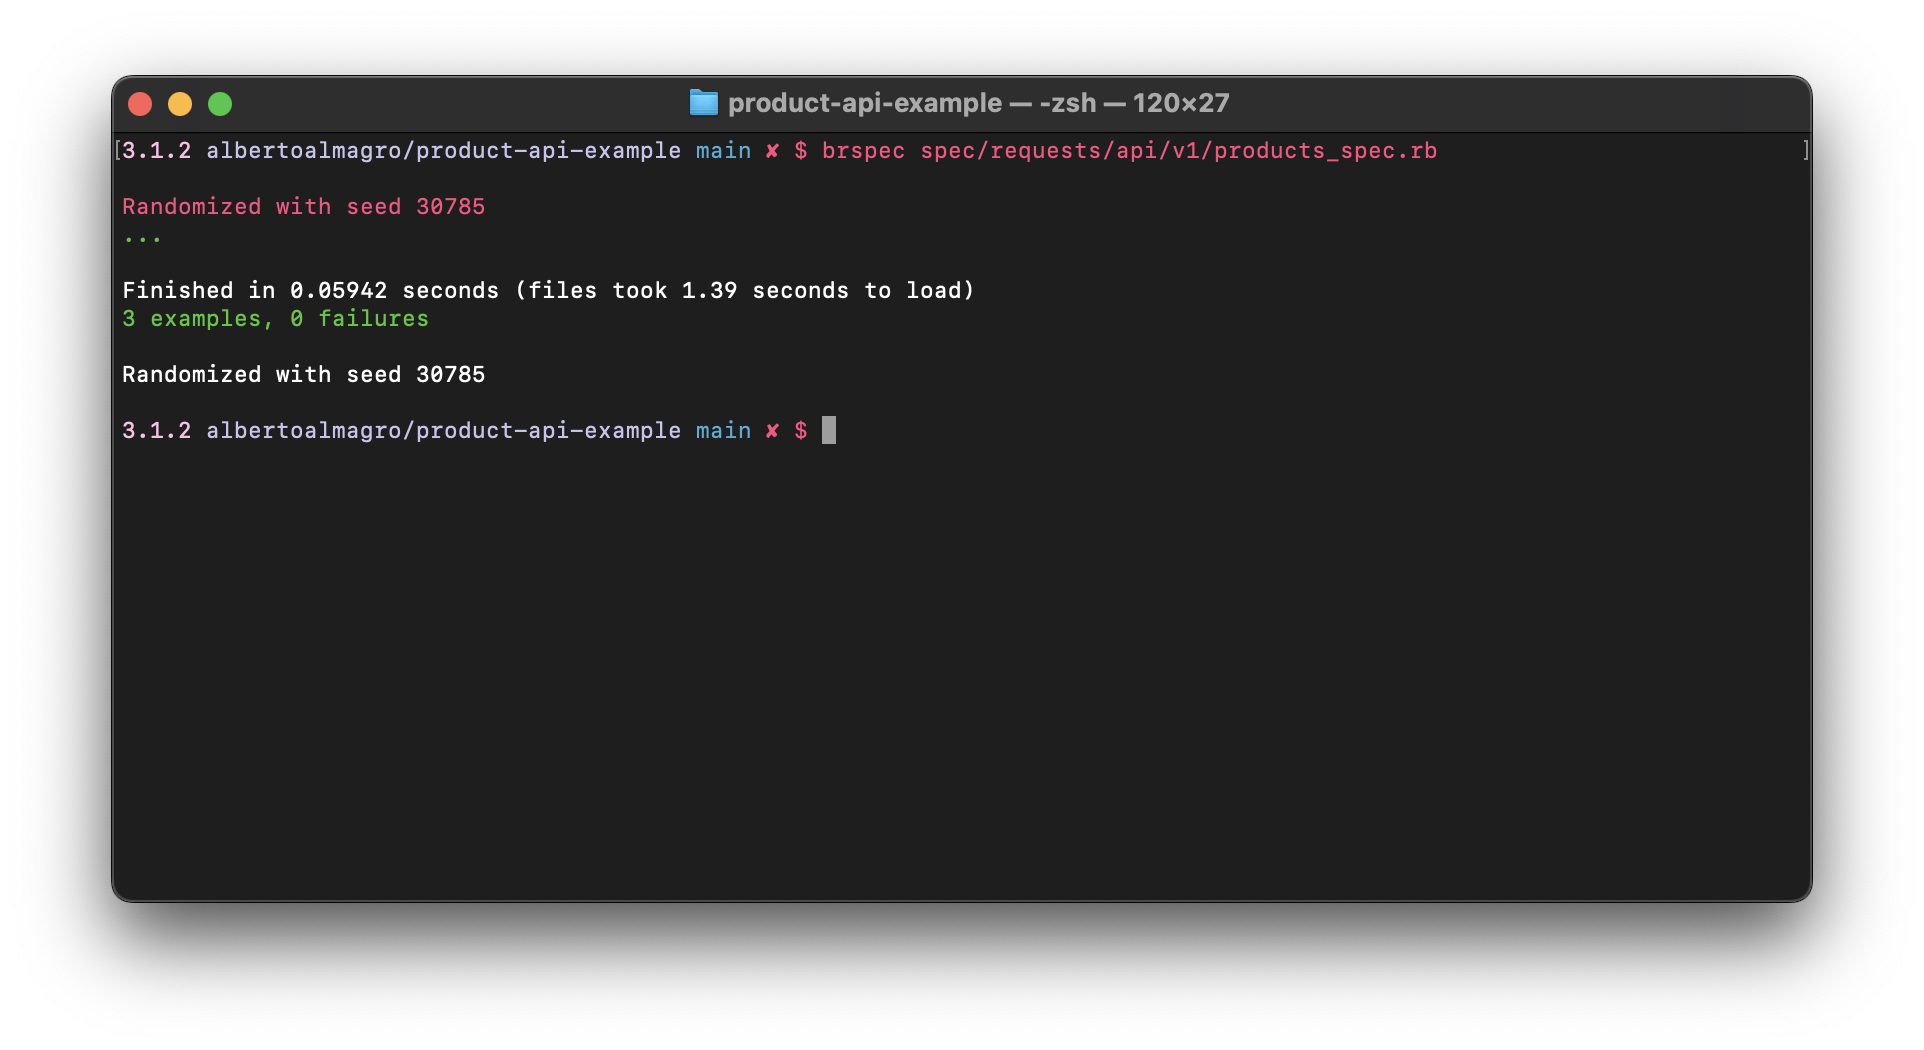
And again back to green!!! ✅ 🎉
And that’s it for today’s post! I hope you feel now prepared to give TDD a try if you wish!
If you enjoyed this post, please consider subscribing so that you do not miss any further updates! Please also let me know in the comment section below which topics would you like me to talk about.
And without further ado, see you in my next post. Adiós!